Bird Netting Fixings & Tools
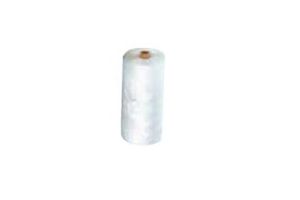
12/6 Twine - 150g Spool
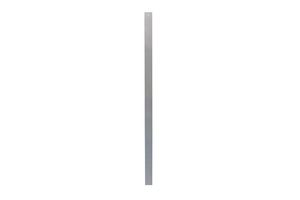
Roof Mount extension (1m)
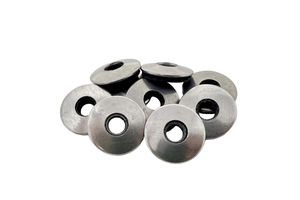
Bonded Washers, Stainless Steel - Pack of 100
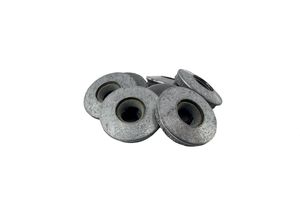
Bonded Washers, Galvanised - Pack of 100
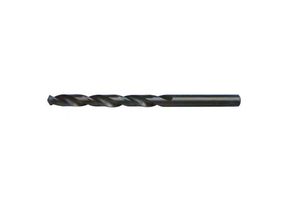
5.5mm x 100mm SDS+ Masonry Drill Bit
6.5mm x 100mm SDS+ Masonry Drill Bit
10mm x 100mm SDS+ Masonry Drill Bit
11mm x 100mm SDS+ Masonry Drill Bit
8mm x 100mm SDS+ Masonry Drill Bit
6mm x 100mm SDS+ Masonry Drill Bit
7mm x 100mm SDS+ Masonry Drill Bit
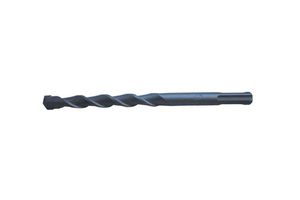
11mm x 150mmmm SS Straight Shank Masonry Drill Bit
6.5mm x 150mm SS Straight Shank Masonry Drill Bit
10mm x 150mm SS Straight Shank Masonry Drill Bit
8mm x 150mm SS Straight Shank Masonry Drill Bit
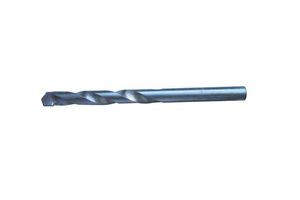
5mm x 85mm SS Straight Shank Masonry Drill Bit
12mm x 150mm SS Straight Shank Masonry Drill Bit
5mm x 150mm SS Straight Shank Masonry Drill Bit
12mm x 100mm SDS+ Masonry Drill Bit
14mm x 150mm SS Straight Shank Masonry Drill Bit
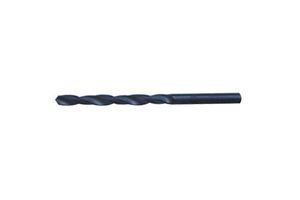
6.5mm HSS Tungsten High Speed Twist Drill Bit
5mm HSS High Speed Twist Drill Bit
3.5mm HSS High Speed Twist Drill Bit
3.3mm HSS High Speed Twist Drill Bit
4mm HSS High Speed Twist Drill Bit
6mm HSS High Speed Twist Drill Bit
14mm x 100mm SDS+ Masonry Drill Bit
Shop a Complete Range of Bird Netting Fixings
Our selection of bird net fixings includes wire, clips, hooks, ties, zinc eye bolts and bridge clamps that are specifically designed for different types of bird net installation.
Choosing the right fittings is essential as, without them, nets can become loose and create gaps where birds can enter, leading to injury or damage to your property.
For installations extending beyond 10 metres, we recommend our tensioned cross-wires. Engineered to preserve the structural integrity of your bird-proofing system, these fixings prevent sagging and ensure that the protective barrier remains effective and durable over time.
Ensure Professional Bird Netting Installation With Huck Nets
If you’re installing netting yourself as a personal project or as a contractor, we have all the parts and tools required for a professional installation job. However, should you need help, we also offer a complete bird netting installation service across the UK.
Contact us today for a bird netting installation quote on 01308 425 100.
FAQs
How Do You Attach Bird Netting?
Attaching bird netting involves securing the net around the perimeter using fixings like clips, hooks, and ties. For larger areas, incorporate tensioned wires to prevent sagging. Always ensure fixings are placed at regular intervals to prevent gaps.
What Can I Use to Hold Up Bird Netting?
Bird netting fixings, including clips, hooks, and ties, are essential for a professional bird netting installation. These specialised fixings and tools ensure a secure, gap-free installation that maintains its integrity over time.
How Durable is Bird Netting?
Our bird netting is designed for durability, made from high-strength materials like polyethylene or nylon, which are resistant to UV rays, weather conditions, and the abrasive nature of birds, ensuring long-term effectiveness and minimal maintenance requirements over many years.
Does Netting Deter Pigeons?
Absolutely, our bird netting is an effective deterrent against pigeons, creating a physical barrier that prevents them from landing, nesting, or causing damage to properties. We recommend using bird netting with a 20mm mesh to protect against pigeons.